
Lead paint has been used in homes and buildings for decades, but its presence can pose serious health risks, especially to children and pregnant women. Removing lead paint safely is crucial to protect your family and the environment. In this blog post, we will discuss the best practices for lead paint removal to ensure a safe and effective process.
UNDERSTANDING THE DANGERS OF LEAD PAINT
Before diving into the removal process, it’s essential to understand the dangers of lead paint. Lead exposure can lead to severe health issues, including developmental problems in children, nervous system damage, and reproductive issues in adults. Thus, it’s critical to handle lead paint removal with care and responsibility.
IDENTIFYING LEAD PAINT
The first step in lead paint removal is identifying its presence. Older homes, especially those built before 1978, are more likely to contain lead-based paint. You can purchase lead test kits from your local hardware store to confirm its presence. If lead paint is detected, take immediate action to address the issue.
SAFETY PRECAUTIONS
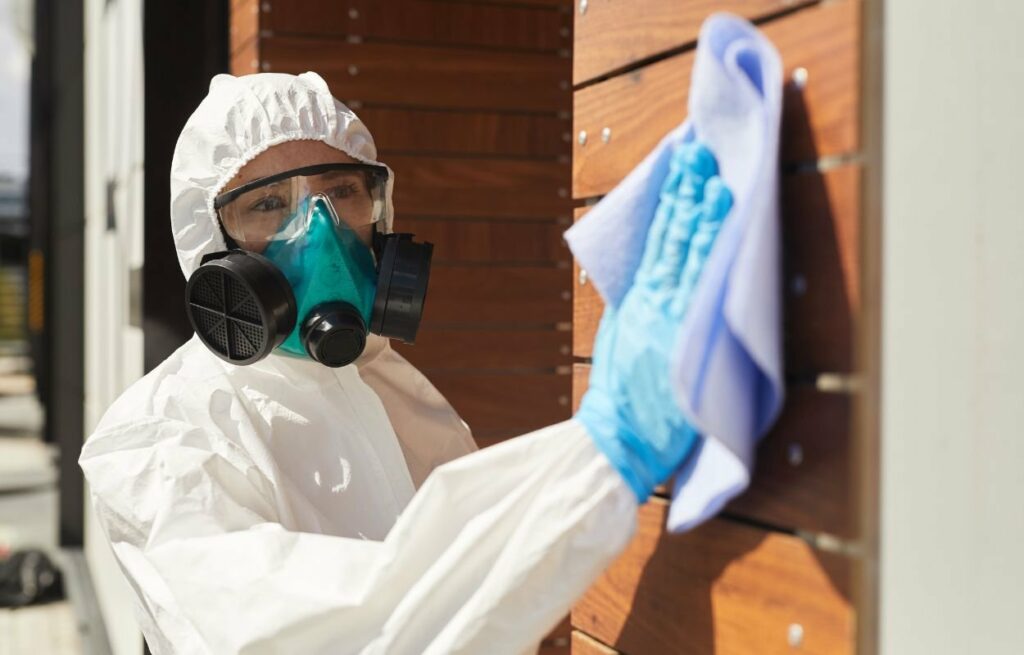
When dealing with lead paint removal, safety should be your top priority. Always wear personal protective equipment (PPE), including gloves, a dust mask, and safety goggles, to minimize exposure to lead dust and particles. Seal off the work area with plastic sheeting to prevent lead dust from spreading to other parts of your home. Ensure proper ventilation by using fans and opening windows. This helps in dissipating lead dust and maintaining air quality.
However, it is important to remember that hiring a professional service to remove lead paint or any other hazardous materials is the safest option and should always be your first choice.
LEAD PAINT REMOVAL METHODS
There are several methods for removing lead paint, but it’s crucial to choose the one that suits your specific situation.
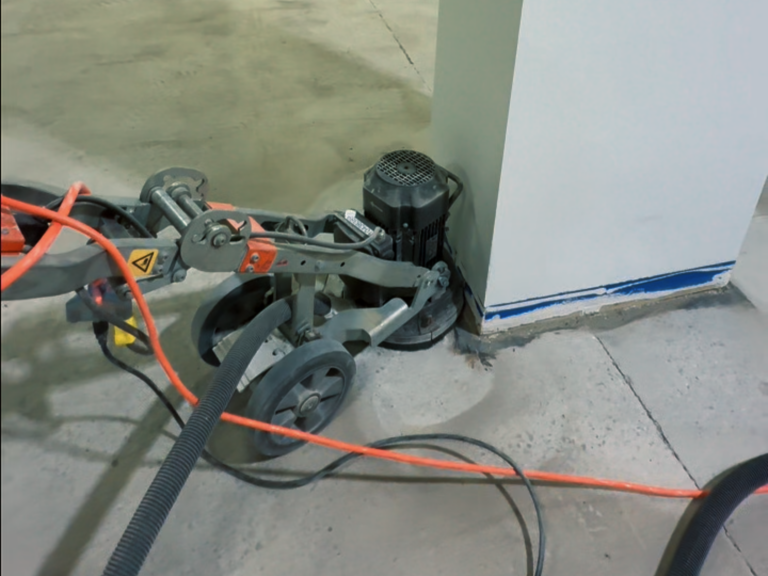
Scraping: This method involves carefully scraping off the lead paint using a putty knife or scraper. Make sure to collect all the paint chips in a HEPA vacuum or wet mop to prevent them from becoming airborne.
Encapsulation: Encapsulation involves covering the lead paint with a specially designed encapsulant, which creates a barrier and prevents the paint from chipping or flaking.
Chemical Stripping: Chemical stripping involves the use of paint strippers specifically designed for lead paint removal. Follow the manufacturer’s instructions carefully and wear appropriate PPE.
Hire a Professional: This is the safest way to ensure that you are not putting yourself or anyone else at risk.
PROPER CLEANUP AND DISPOSAL
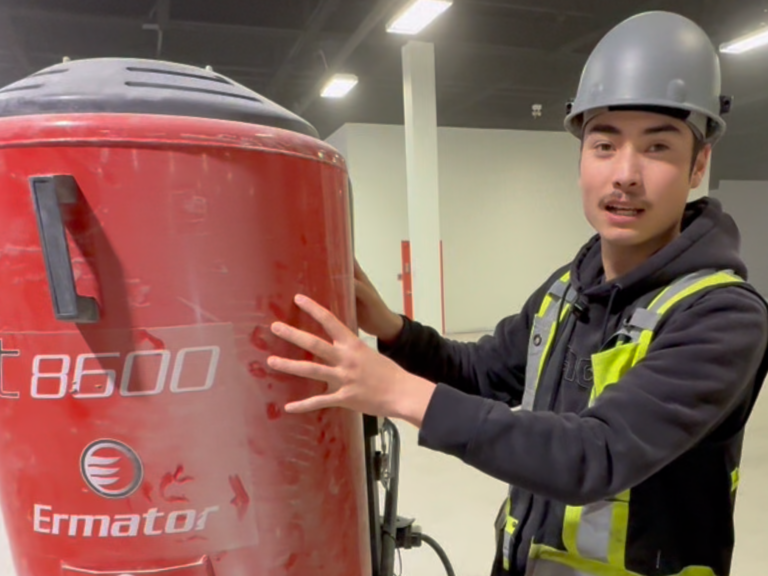
After successfully removing lead paint, it’s essential to clean up the work area thoroughly. Use a HEPA vacuum to clean all surfaces, including walls and floors, to remove any remaining lead dust. Dispose of all lead-contaminated materials, such as paint chips and debris, in sealed plastic bags. Contact your local hazardous waste disposal facility for proper disposal guidelines.
Lead paint removal is a task that requires careful planning and execution to ensure the safety of your family and the environment. By following these best practices, you can minimize the risks associated with lead exposure and create a healthier living space for you and your loved ones. Remember always to prioritize safety and take necessary precautions throughout the removal process. If you’re unsure about how to proceed, or if you simply wish to ensure maximum safety and proper disposal, consider hiring a professional lead paint removal expert to handle the job safely and effectively.